
How cute did these bookends turn out!!

As I grew up, my mom learned how to do ceramic painting and molding and we always had the best holiday decor around that no one else seemed to have. I knew that one day I would carry on that same love for ceramics, and now 30 + years later, here I am creating unique pieces of home decor made by me. Although I do not pour my own green ware (that's what they call a sculpture that is still clay and not yet fired into a ceramic form)...... I do clean it, fire it and paint it.
Back in the day, there used to be a number of ceramic stores around, but slowly they began to disappear. However, I have found a new one that I LOVE!! There are several actually, but I have found one in Layton,UT across from the south entrance of Hill Air Force Base. It's name.....Sue's Ceramics.
In this treasure shop, you will find a huge variety of green ware at super low prices. They also teach classes on cleaning, painting techniques, etc. and for a small fee, you can use their paints and stuff and do your project in store in case you have questions of need any sort of help. I am going to show you my recent project in case you get the bug and want to journey into the world of ceramics too.
My little guy is fascinated with trains. I found these darling bookends at Sue's for $7.00. Yep, that's what I said. I knew the second I saw them I had to have them for his dresser. So, I scooped them up and brought them home.

When you initially purchase the green ware, it will typically still have the lines from the mold where extra clay was poured in. Those lines need to be cleaned off. It's not hard at all to do, it just takes a careful hand so you don't break the clay apart.
With the help of a little "scrapping" tool like the one in the picture, you can carefully scrape those mold lines off so the piece looks like one seamless piece. Sometimes it is a bit easier to work with if you get the clay a bit wet with a small sponge.

After you get those seams removed and it is ready to be fired and turned into a ceramic piece, take it back to the store it was purchased from and have them do the firing. At Sue's, the cost of the firing if half of the original purchase price. It will typically take 2-3 days, and when you pick it up, it will be ready to paint.
For this project, I chose to do a style of painting called "dry brushing" where you paint the entire piece black, and then with stiff bristled brushed similar to those in the picture, you dip it in the desired color, brush most of the paint off on a paper plate or something like that and "dry" brush color on. You don't want the paint to go on thick because you want the black underneath to be noticeable enough to add some depth and texture.

So here they are painted all black

Then take your brush and dip it into your desired color, wiping the excess off on to a paper plate
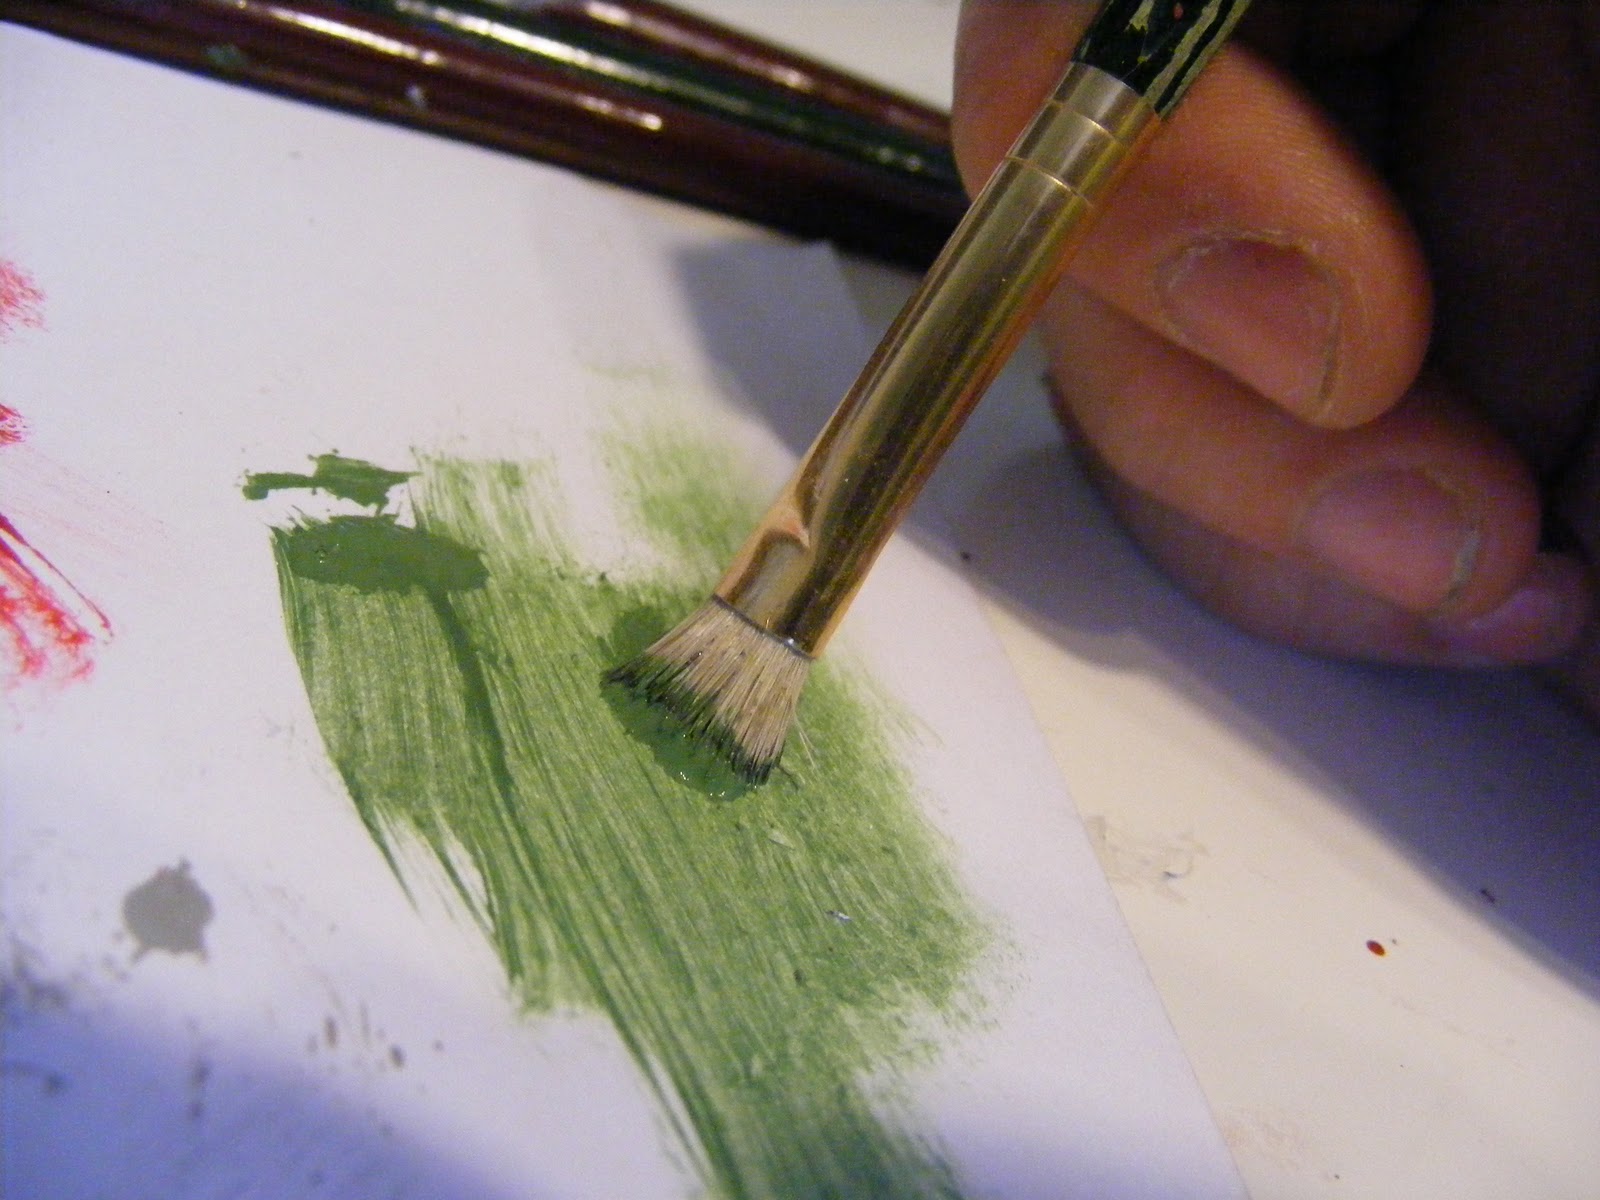
Then you just paint it on. The key to this is having as little paint on your brush as possible. If you want it darker, don't put more paint on your brush, just paint over it several times.

**Important note: Dry Brushing is just that. Having a dry brush. DO NOT wash it in water until you are completely done with it for that day. Once the brush is wet, you have to wait for it to dry completely before you can use it again. Instead, just brush off the extra paint on the paper plate. I try to use 2 brushes for each project. One for light colors and one for dark. And then, I try to do light colors first because they are easier to mask with dark colors.
If you are completely confused and have no desire to take on a task like this..........then just sit back and take a look at some of the projects I have recently finished over the last 8 or so months


No comments:
Post a Comment