
I have seen this idea for a hanging succulent garden many many times and have loved it more each time I saw it. I tried to figure out how I could have the same thing.....and after a stroll through the Home Depot, I found myself walking out to my car with several pieces of wood, trellis' and various other items. Darn that Home Depot.

I was so excited to get to work on this project. I can't wait to get it put together and enjoy the fruits of my labor.
To start, I cut 4 boards (treated wood 2x4's) into two different sizes. The final dimensions of my planter were ~2 feet by 4 feet. I mitered the ends of the wood so that it would fit nicely together and give it a finished look. For those who don't know what a mitered edge is, it's an angled edge so that the two pieces when out together make a beautiful 90 degree angle with a smooth finish to it.

To ensure a tight fit, I used wood glue to help hold the corners together and then screwed them together.

and here is what it looked like.

I continued doing that on all sides until I had a nice rectangular box.

For the back of my gartden, it is possible to use one large piece of wood as the backing. I chose to use old pallets that I had so that water could easily drip through the wood as succulents do not like to be kept wet.

So I measured those out and screwed them to the back. I neglected to take a good picture of the next step but it is important and is worth mentioning. With some left over PVC pipe (the white pipe in the picture below) I drilled several small holes in them and capped off one end so that I could insert them through the top side of my garden and water my plants by simply filling those pipes with water. It acts as a drip system for the hanging garden.

Just be extra careful when you drill the holes in the pipe that the drill doesn't slip and drill a hole in your fingernail instead.

Next, I lined the garden with a fabric weed barrier for nothing more than to prevent any dirt from seeping out the back...Oh and to help prevent the wood a bit.

Then fill that baby with dirt, cover the top with the weed barrier and put the trellis on top. This will help keep everything in place and add to the beauty of the garden.

Cut through the weed barrier and plant your plants.
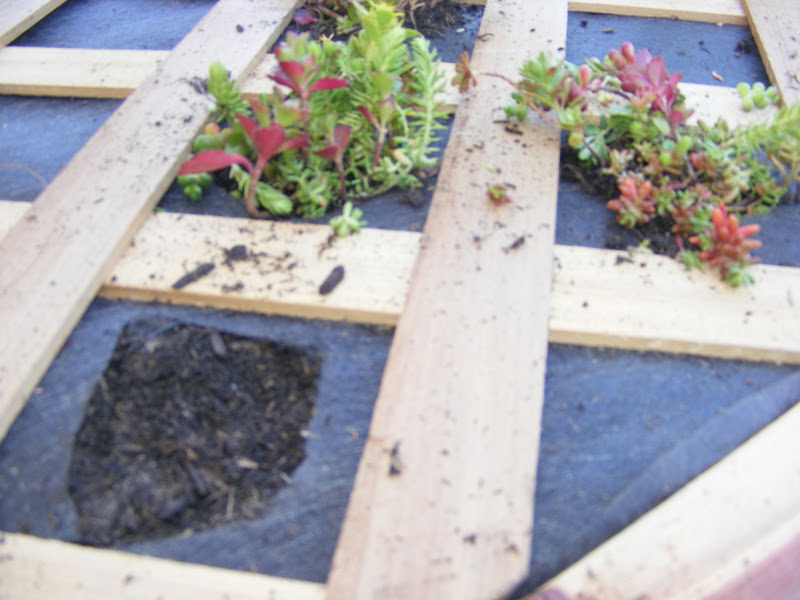
Water it well and VOILA!! There you have it. The garden does need to sit flat for a week, maybe even 2 until the dirt settles and the plants have a chance to take root. Once they are rooted in, it's time to hang it and enjoy the view.

Mine is still sitting in it's "flat" position. As soon as I am ready to hang it, I will show you that how to also.

One of the cute neighbor girls came over and said "It would look better if your dad (I'm sure she meant my husband) did it." I just looked at her and smiled and said "Ya know, girl's are good builders too."
So ladies....don't be afraid to get out the saws and drills. WE CAN DO IT TOO.
Did my child tell you "your Dad" could do it better? Sounds like something my kids would say...
ReplyDeleteI love it!!! Can't wait to come check it out on your house you crafty chick you! I love your blog and all the beautiful things you do. And even more, I adore you as my neighbor!
It so wasn't your child. They are super well mannered when they are at my house.
Delete