Showing posts with label fashion. Show all posts

Pick your Pikle

I am dying over this super fantastic product that I was just recently introduced to.  It's called the "Pikle".  Here is some information from their website

"We've all found ourselves in a pickle at times! These are the moments you never expect and are not prepared for! A spill on your shirt, a missing button, an unsightly chin hair, a torn finger nail, or lunch stuck in your teeth.
If you have children, you have more unique challenges ranging from nose bleeds to skinned knees. The "In A Pikle" bag (or more frequently referred to as the "Pikle") is a compact organizer for essential convenience items needed for the daily emergencies of life. It is camouflaged to look like a designer wallet. Inside are 8 clear, removable pouches that attach to the fashionable cover. It is designed to hold a stain remover pen, bandages, nail clippers, tweezers, safety pins, and much more.
Women have many of these items at the bottom of their purse, but can never find them when they need them! Finally, there is a way to organize daily emergency items in a fun and stylish way. The "Pikle" comes in many trendy designs and fun colors providing something for every taste. With the "Pikle", you'll be able to successfully get out of almost any situation."


This super cute bag has everything you could possibly need.  

Dill Pikle with Starter Pak Contains:


  • 1 exterior cover of your choice                                            
  • 4 double sided clear bags
  • 1 hand sanitizer pen
  • 1 spot remover pen
  • 3 individually wrapped antibacterial wipes
  • 1 credit card size mirror and floss combo
  • 1 pair of tweezers
  • 1 pair of fingernail clippers
  • 2 emery boards
  • 1 travel size sewing kit
  • 1 retractable mini scissors
  • 1 24" tailor tape
  • 3 hair bands
  • 5 rubber bands
  • 5 bobby pins
  • 5 safety pins
  • 5 paper clips
  • 1 Phillips head mini screw driver
  • 1 straight head mini screw driver
  • 1 mini pen
  • 1 "In A Pikle" sticky notepad
  • 10 adhesive bandages
  • 1 package travel tissues
  • 1 pill box


How perfect is that? Everything you need right at your fingertips and small enough to fit in your purse.  I am telling you....I don't know how I have ever lived without one.  Check it out on www.Inapikle.com 
 and get yourself one today!


* all images and information are taken from www.inapikle.com  I take no responsibility for the content of this other than my pure excitement and love for this product.



A cool you!

I am not one who loves heat. I have quite a bit of  "insulation"  on my person and I typically run 30 degrees hotter than anyone else.  I guess that's why I occasionally catch my kids going to bed with their winter coats on because our house is quite cool.  But, sometimes it's still not enough.  So, I had to come up with something that would help me without freezing everyone else.  (Although I don't really feel bad for them because you can always add more layers.....you can only take so many off)

I like to call it my Personal Cooling Device and it goes with me wherever I may go.


It may be nothing more than reusable Ice Cubes tied in a nylon sock, but to me it is a 
LIFESAVER!  Laugh at me if you will when you see me wearing it, but when it's 90+ degrees outside, you will secretly and maybe even out loud, be wishing you had one too. 

Shiny Key Identifier

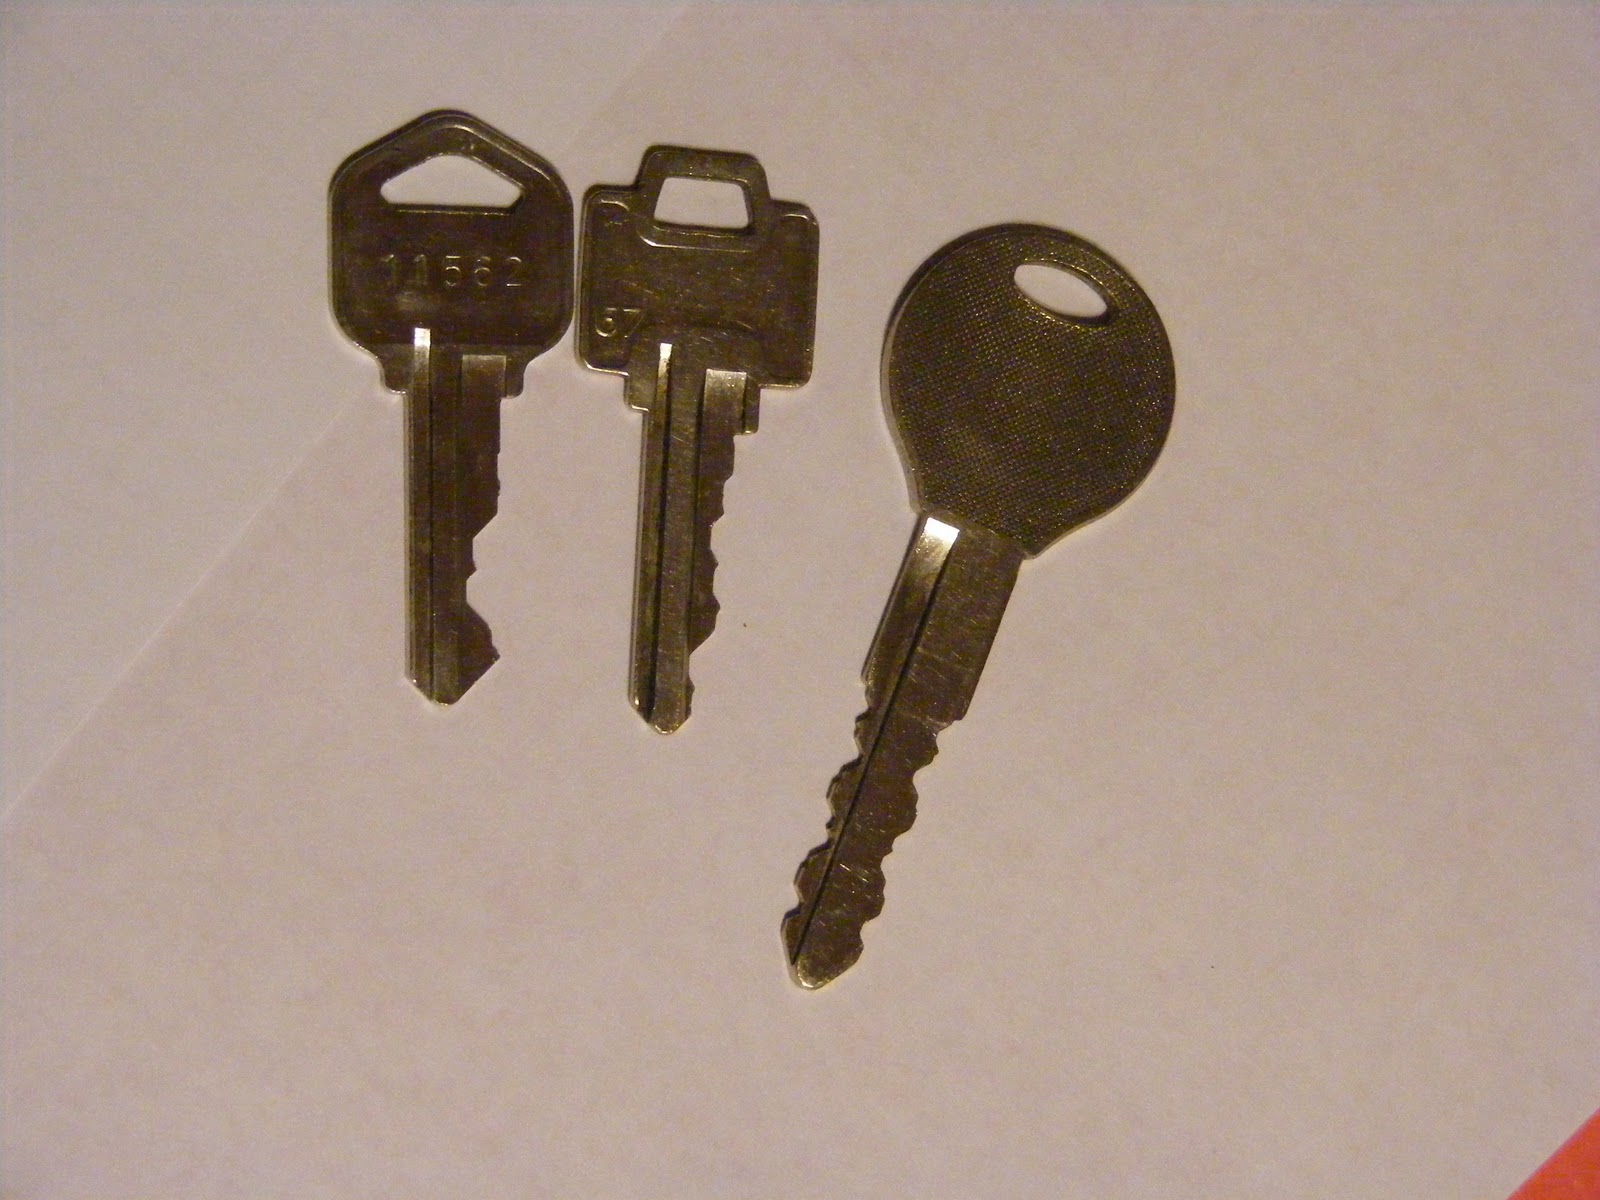
I am one who has a million keys on my key ring, but besides the car keys, I can never remember which one goes to which lock.  So, instead of going to the store and buying those rubber key identifier things, I decided on something a little more sparkly and fun.


I just took some of my boring old keys


covered them with glue and glitter


and put a finishing spray on them so glitter won't find it's way all over my purse or pockets.
I guess if they aren't useful in helping me identify which key goes with which lock, at least they'll look pretty, right!


Easy to do Tye Dye

My girl just turned 6.  I can hardly believe that much time has already passed.  We had a little birthday party for her and since she's just like her mom and loves to craft, we had to come up with something fun for 6 year old girls and boys to do.
So we decided to make our own tye dye t-shirts.
It was so easy and practically mess free.  So here's the skinny on how to do it. 

We used handy dandy Sharpie markers, some rubbing alcohol and let the kids go crazy designing their own unique pictures. 

To make a Sharpie tie-dye, stretch the dry t-shirt over the pan/bowl or put aluminum foil or cardboard inside the shirt. Make your design using the Sharpie markers using a spray bottle, eye dropper, or cotton swabs, apply rubbing alcohol to the designs.  As the shirt soaks up the alcohol, the color spreads, creating a tie-dye effect.
Allow the shirt to dry and then iron or put it in the dryer on high for 15 minutes to set the design. (Hint: fabric drenched in combustible liquid + intense heat = danger, so let the shirt dry before setting the design in the dryer.) Wash as normal. 

Here are some of the results:

I did this on socks.  Turned out pretty cool I thought


Anyway, you get the idea.  Get those markers out and have fun with them!


Bottle cap bling

It sometimes takes me a while to catch up with the newest fashion trends.  Not because I don't enjoy fashion and it's ever and quickly changing trends, but unless a 5 year old wants it, I don't even know it exists.
I was called to organize a camp for a young women church group and we had to come up with crafts to keep them entertained.  What is a 12-18 year old girl into these days.  And then a thought.......who doesn't love new, funky jewelry.  And bottle caps fit right in that "funky" category.

So, I dropped by the craft store and picked up some bottle caps for this project, got on the Internet and found as many crazy and different images I could so each girl could fine something she liked, and got to work making a sample piece or two....or three.


I made these for my 5 year old girl and a couple of her close friends.

These were super easy to put together.  Most of the time you can find these bottle caps with holes already drilled into them.  However, I like things as difficult as possible, so the ones that I purchased needed holes punched in them.  I took a nail.......


and hammer and made a punch.  It took no effort at all.


After that was done, I collected the images I had found and used a 1" hole punch and cut them out.  My cutting skills are terrible, so any tool that can help make life easier, I am all for. 

1" hole punch


I love this infamous picture of "Joe" from the Eskimo Joe collection out of Stillwater, OK


You can string ribbon or a chain through the hole in the top of the bottle cap, but to get it all to lay nicer and prettier, you should add a jewelry loop to it to string your hardware to.


And then add your chain. Or in my case, ribbon.


The girls at camp loved this project.  Here are some other things I came up with in addition to making a necklace.


earrings


bracelets


bracelets
 pins

bookmarks


I know I know...............its' pretty crafty!


Baby Legs

I wish I could take credit for all of these crafty ideas that are swirling around in my head.  But, I cannot.  However, I can take credit for seeing someone else's crafty niche and figure out how to make it my own and in a way that is easy and cost effective. 

I saw these cute leggings for kids (babies mostly) and fell in love. Not only are they a stylish way to keep babies legs warm, but they also help soften the blow to their knees when they begin to crawl. My 5 year old thinks they are the coolest thing ever, and I have made some for friends who love them because they fit so much better when they don't have to go up and over that big, bulky diaper.  So, you can buy the designer kind for about $18 a pair, or you can get out your sewing machine, scissors and some knee high socks for $1-$3 at the local retail store and make your own.  You will die when you find out how simple they are to make.


Lay the pair of socks you are going to use on a cutting board and cut the sock just above where the heel is. Or, if you want it shorter, cut more off. 


Now, with the help of your sewing machine hem the raw edge so it looks nice and doesn't frey.  For those of you who are like me and don't always enjoy sewing a hem, use liquid stitch or heat and bond. 


And there you have it.  A perfectly darling legging for those cute legs of all sizes.